In Part 1 I described how a distributed team kickoff could be initiated. Part 2 will focus on the design of the kickoff for the session.
So far, I’ve called each person on the team. Everyone now has access to an empty Miro play area to experiment in. I’ve also had a chat with Brian Jeffries (the investor for this effort) about what he needs from the team kickoff.
Brian has told me that, before the event, he will present his vision for the product. His biggest desire for my team kickoff event is for everyone to understand the roles on the team and agree how they will work together.
In addition, Brian mentioned that he’d like to get an idea of the team’s skills with the tools they will use, mainly Jira, Box and Miro. This way he can follow up and give training where needed.
Taking into consideration Brian’s concerns, I turned to Miro to begin designing the event.
First I lay out what must be accomplished. I do this on the same Miro I’ll be using for the event. I start my design thinking in terms of “frames.” By using the Miro frame feature, I can take advantage of two built-in capabilities.
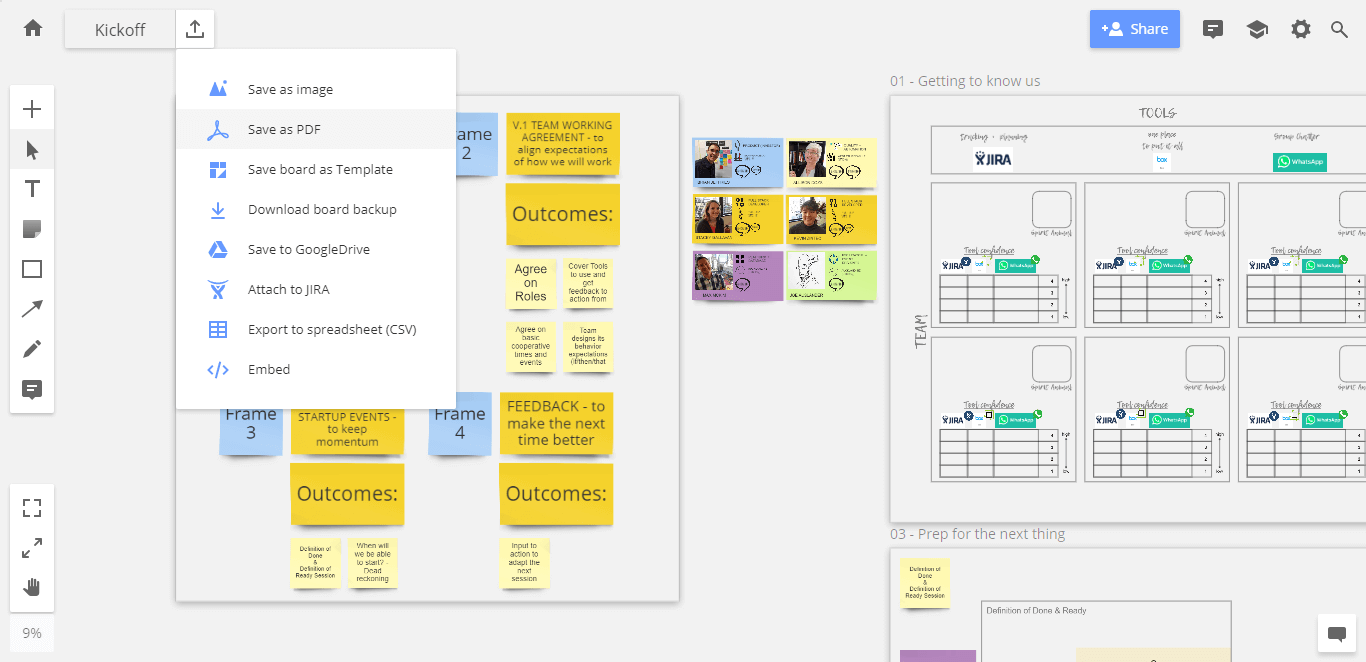
1) Export to PDF — This feature automatically takes vector images of anything inside each frame, in the order that it is listed in the frame menu. This means that after an event it is very easy to create an artifact of the event that the attendees can easily look back to for reference. To make this easier to organize, I’ll number the frames in the order that I’d like them to appear in the PDF (00, 01, etc.).
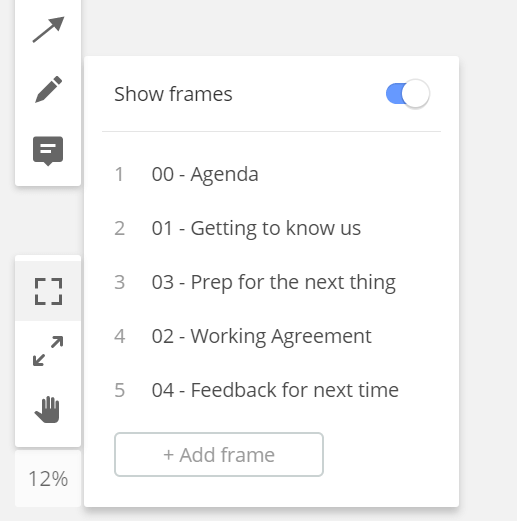
2) Facilitator control — Each space is designed to help a certain type of decision to be made. To quickly bring the event attendees from one working space to another, I can ask them to “jump to a frame.” Doing this means I know that they are all starting from the same space and seeing the same thing. As a facilitator, this helps me focus on the activity instead of trying to understand what each participant is seeing.
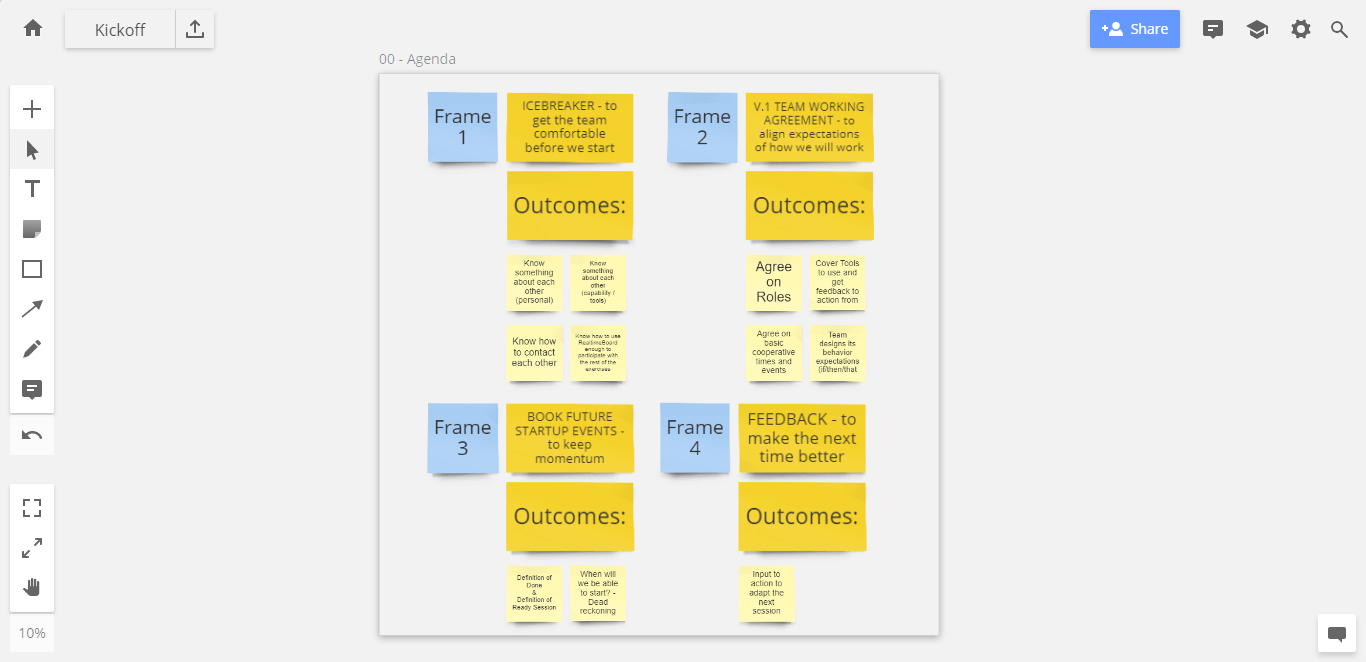
I add the plan to its own frame to use when I introduce the event to the attendees for the first time.
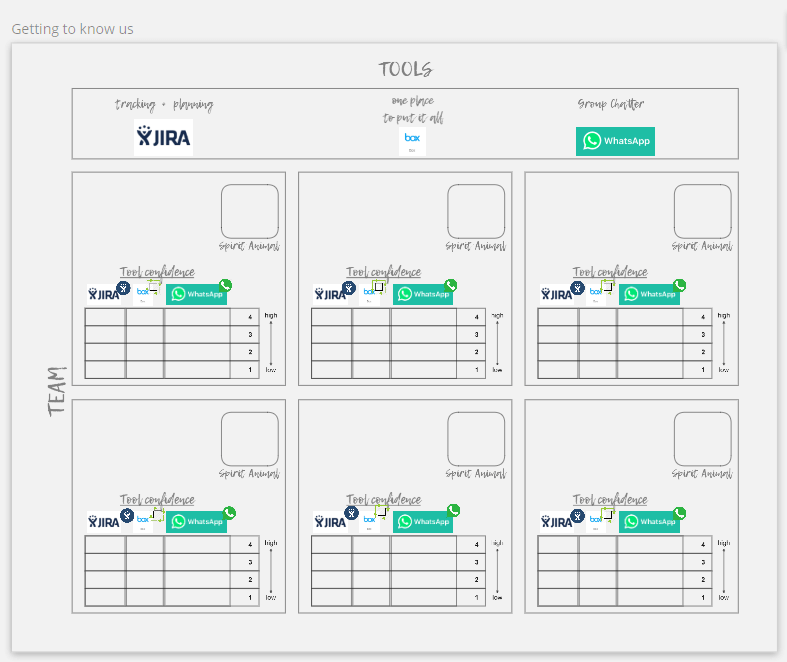
For the first activity (frame: Getting to know us), I want them to get to know each other, but I also want them to become adept in the Miro environment. I will already have made some cards with information about them.
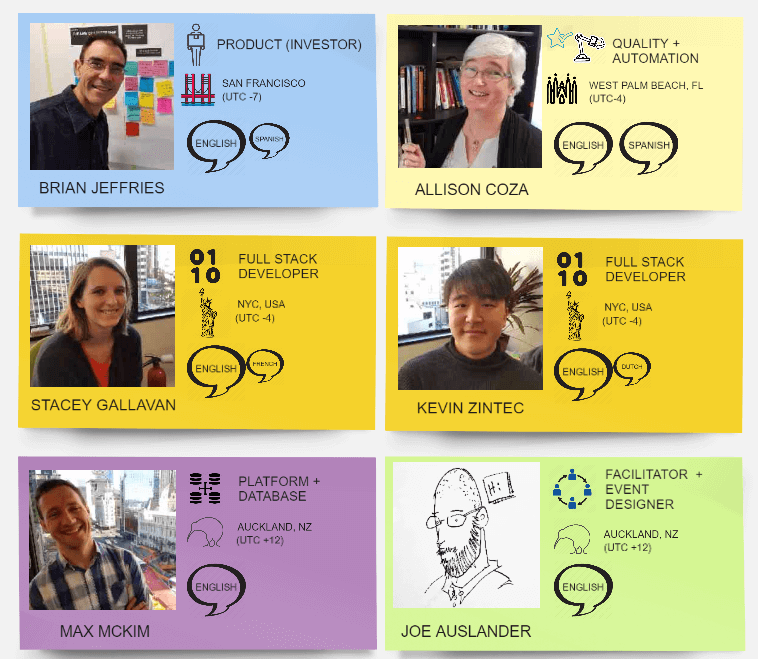
I focus on how they can put those cards in spaces that give context into who they are and some of their capabilities, focusing on the largest concerns Brian wanted to address.
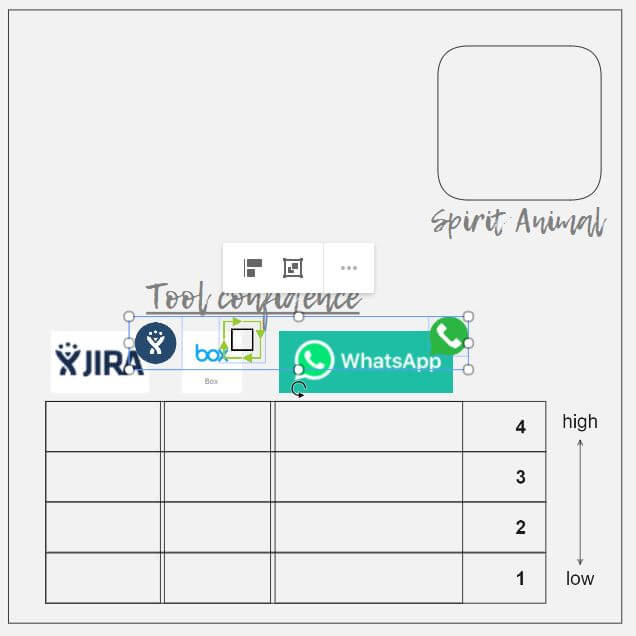
The Miro Iconfinder feature makes it very easy to express a word with an image. To expose them to this feature, I create a space called “Spirit Animals.” I’ll ask them to use Iconfinder to pick an animal icon that best represents them. I’ll reuse this animal icon later to ask them to create their own voting stickies.
The “Tool confidence” section of the square is where they will self-measure and talk about how comfortable they are with the three main tools.
I replicate this square for every member of the team (including myself). I also add a “Tools” row at the top. This is where I will place a graphical link to the instance of the cloud tools we expect to use.
I then group and lock the activity frame so that the attendees can interact over it.
To allow each attendee to vote on their own confidence level, I create an icon for each tool and place them at the top of each column. I don’t lock these because I expect the attendees to move them.
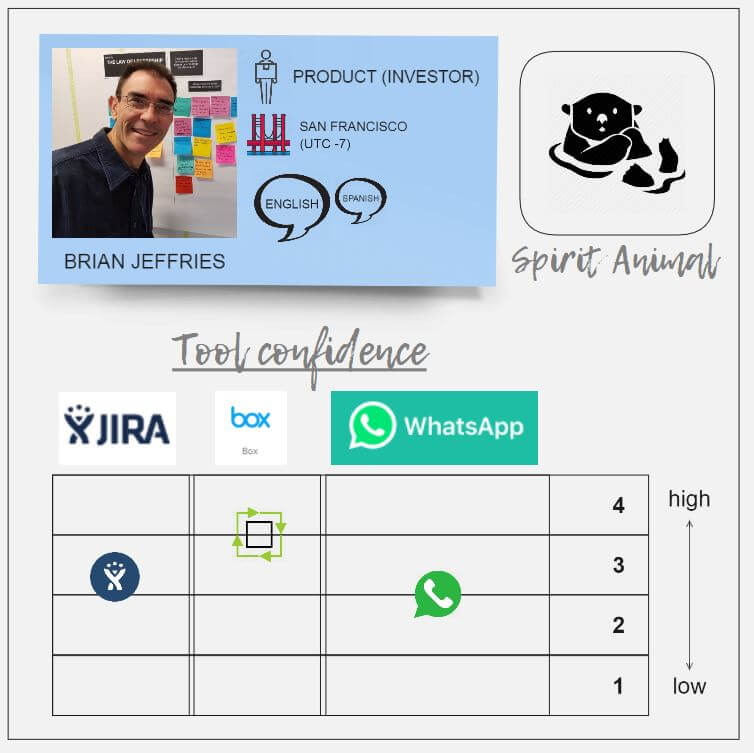
Here is an example of what a filled-in square may look like:
Now I’m ready to move on to the next three parts of the event:
- working agreement
- preparation for the next things
- feedback
In this part we dove into some of the thinking that can be applied when designing interactions in a digital event space. In Part 3, we will quickly cover the end design for the three remaining parts and then look at the end result.